Giving your clothes a fresh look can feel really good, can't it? Sometimes, a favorite old shirt just needs a little something extra to make it special again. Maybe the neck feels a bit too tight, or you just want to try a different style. It's actually quite simple to change how a t-shirt looks by just working on the neckline. You don't need a lot of special things, just a few basic bits and some thoughts about what you want the shirt to be like. This simple change can make an old item feel completely new, so, it's almost like magic for your wardrobe, really.
Many folks might think cutting fabric is a big deal, but with a t-shirt, it's pretty forgiving. The material often stretches and moves with you, which means small slips aren't the end of the world. Getting a new shape for the neck of a t-shirt is a fun way to put your own mark on what you wear. It lets you show a bit of your own style without having to buy something completely different. It's a quick way to get a new feel from something you already own, you know?
This guide will walk you through the simple steps to reshape the top of your shirt. We'll talk about what you need, how to make your first cuts, and even some ideas for different looks you can get. We'll also cover how to keep your newly styled shirt looking good. It's a way to refresh your shirts and give them a new life, basically.
- Shanik Berman Divorcio
- Carson Shearer Dance
- The Muffin Man Meme
- Daisy Melanin Viral Video Original Video
- Hanna Cavinder Ass
Table of Contents
- How Can You Give Your Old T-Shirt a Fresh Feel?
- What Tools Do You Need to Cut the Neck of a T-Shirt?
- Getting Ready to Cut the Neck of a T-Shirt
- Making the First Mark - How to Cut the Neck of a T-Shirt Just Right
- What Are Some Different Ways to Cut the Neck of a T-Shirt?
- Finishing Touches After You Cut the Neck of a T-Shirt
- Keeping Your Cut T-Shirt Looking Good
- Any Tips for Cutting the Neck of a T-Shirt Like a Pro?
How Can You Give Your Old T-Shirt a Fresh Feel?
Sometimes, a simple change can make a big difference to how a piece of clothing feels on you. A shirt's neckline, for example, can completely change its vibe. Maybe you have a t-shirt that's a bit too snug around the throat, or perhaps its current round shape just isn't what you're looking for anymore. Giving it a different neck style can open it up, make it more relaxed, or even give it a bit of a fashion edge. It's about making your clothes fit your personal comfort and taste better, you know? It's a pretty straightforward way to personalize your wardrobe without spending much money, either.
What Tools Do You Need to Cut the Neck of a T-Shirt?
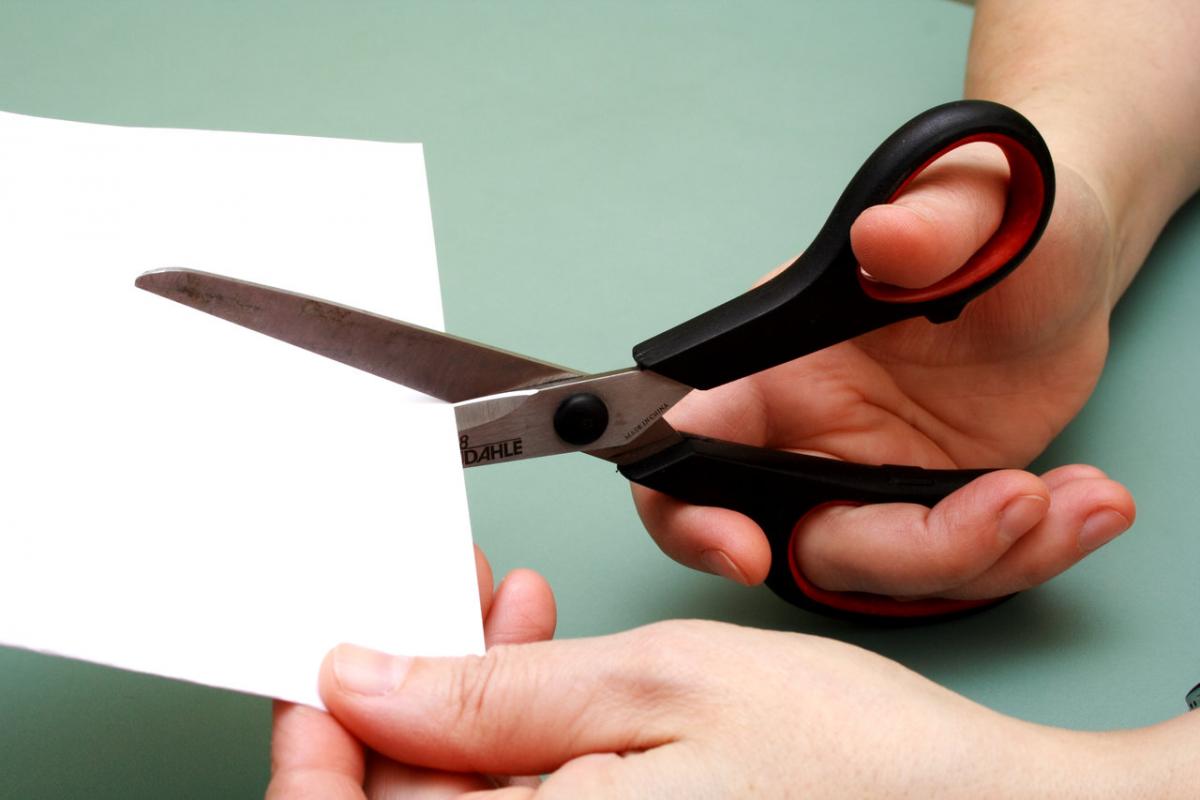
Before you start altering your shirt, it helps to gather a few things. Having the right tools makes the process smoother and helps you get the look you want. You don't need a whole lot, just some common household items, usually. For instance, a good pair of scissors is really important. Not just any scissors, but ones that are sharp and meant for fabric. Dull scissors can pull threads and make the cut look messy, and you really don't want that. A pair of sewing scissors, or even sharp kitchen shears, could work. It's better to have something that glides through the cloth easily. So, that's one thing to think about.
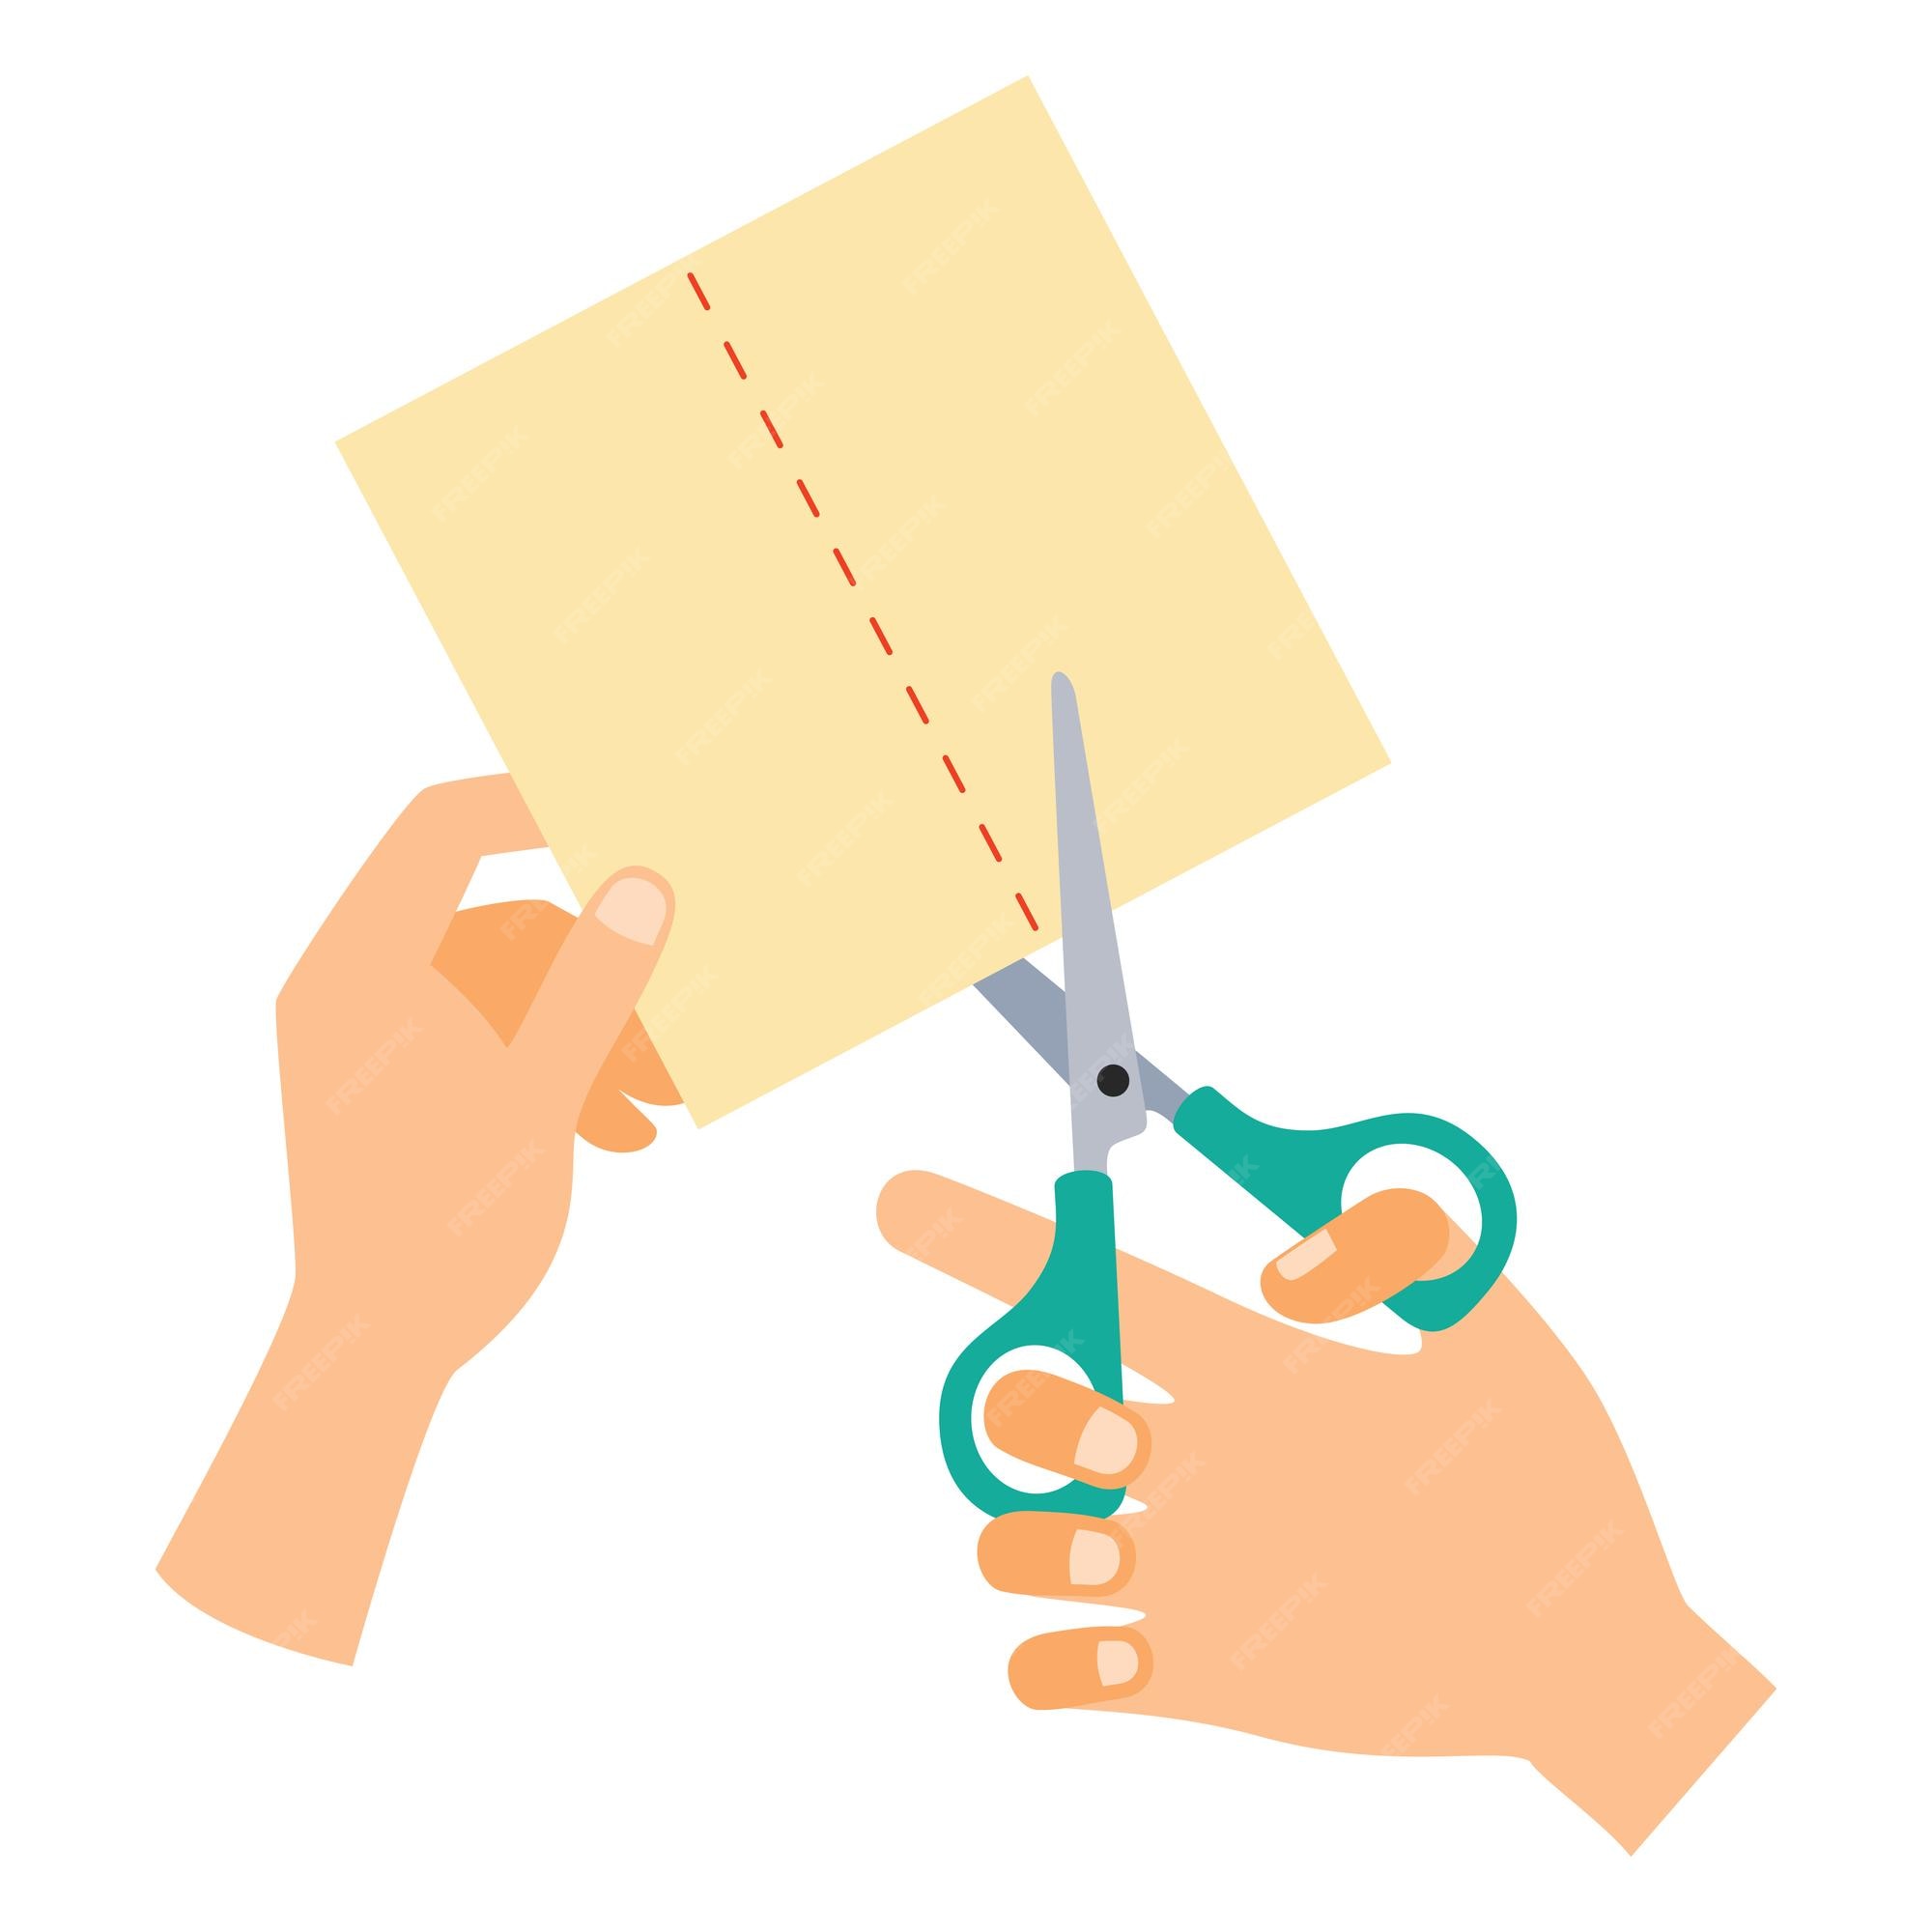
Next, you'll want something to mark your cutting line. A piece of tailor's chalk is ideal because it washes off easily. If you don't have that, a regular pencil can work on lighter fabrics, but be careful not to press too hard or leave a mark that won't come out. Some people even use a bar of soap, which leaves a clear line and disappears with water. The idea is to have a visible guide for your scissors. You also need a flat surface to work on, like a table. This helps keep the fabric still and even as you measure and cut. A cutting mat is nice to have if you have one, but a clean, flat table is perfectly fine. A ruler or a measuring tape is also very helpful for making straight lines and ensuring your cuts are even on both sides of the shirt. It's about getting things just right, after all. You might also want a few pins to hold layers of fabric together if you're planning a more complex cut, but for a basic neck change, they might not be needed. Basically, these simple items are what you'll need to prepare for how to cut the neck of a t-shirt.
- Women Fart In Face
- Sister Brother Share Hotel Room
- Creamyspot Face Reveal
- Trell Demetrius Jefferson Lopez
- Two Men And One Horse
Getting Ready to Cut the Neck of a T-Shirt
Once you have your tools ready, preparing the shirt itself is the next step. First, make sure the t-shirt is clean and dry. Any wrinkles or creases can make your cutting lines uneven, which is something you definitely want to avoid. A quick iron can help smooth out the fabric, making it easier to work with. Lay the shirt out flat on your chosen work surface. Smooth it out completely, making sure there are no bumps or folds. This is very important for getting a straight, neat cut. You want the fabric to be as flat as a pancake, almost.
Think about the existing neckline. How does it sit? How much of it do you want to remove? If you're going for a simple scoop neck, you might just be cutting off the ribbed collar. If you want something deeper, you'll need to decide how far down you want the cut to go. It's a good idea to try the shirt on and use a piece of chalk or a pin to mark where you want the new neckline to sit. This gives you a visual reference. You can even fold the shirt in half lengthwise, lining up the shoulders and side seams. This helps ensure that whatever cut you make on one side will be exactly the same on the other, which is pretty clever, actually. This step is about planning your cut before you even pick up the scissors, making sure you have a clear idea of how to cut the neck of a t-shirt in the way you picture it.
Making the First Mark - How to Cut the Neck of a T-Shirt Just Right
With your shirt laid out flat and smooth, it's time to mark your cutting line. This is where your tailor's chalk or pencil comes in handy. If you're just removing the existing ribbed collar, you can draw a line just below the seam where the collar connects to the shirt body. This is the easiest starting point for how to cut the neck of a t-shirt. For a deeper scoop or a different shape, you'll need to be a bit more thoughtful. Start by marking the center front of the neck, deciding how low you want it to go. Then, mark the shoulder points where you want the new neckline to end. These three points will guide your curve. Using a ruler can help you keep things symmetrical, or you can freehand a curve if you feel confident. Just make sure the curve looks even on both sides. You could even use a plate or a bowl as a guide to draw a smooth, round line, which is a neat trick. Remember, you can always cut off a little more, but you can't put fabric back, so start with a less drastic cut and adjust if needed. That's a good rule to remember, you know?
When you're happy with your marked line, it's time to pick up those sharp fabric scissors. Hold the fabric steady with one hand, making sure it doesn't shift. Begin cutting slowly and steadily along your marked line. Try to make one continuous cut rather than lots of small snips, as this helps create a smoother edge. If you're cutting through two layers of fabric (because the shirt is folded in half), make sure your scissors are sharp enough to go through both cleanly without snagging. Take your time. There's no rush here. The goal is a clean, even cut that matches your vision for how to cut the neck of a t-shirt. After the first cut, unfold the shirt and check your work. Does it look even? Is the shape what you wanted? If it's a little off, you can make small adjustments now. This initial cut is the foundation for your shirt's new look, so it's worth getting it right, in a way.
What Are Some Different Ways to Cut the Neck of a T-Shirt?
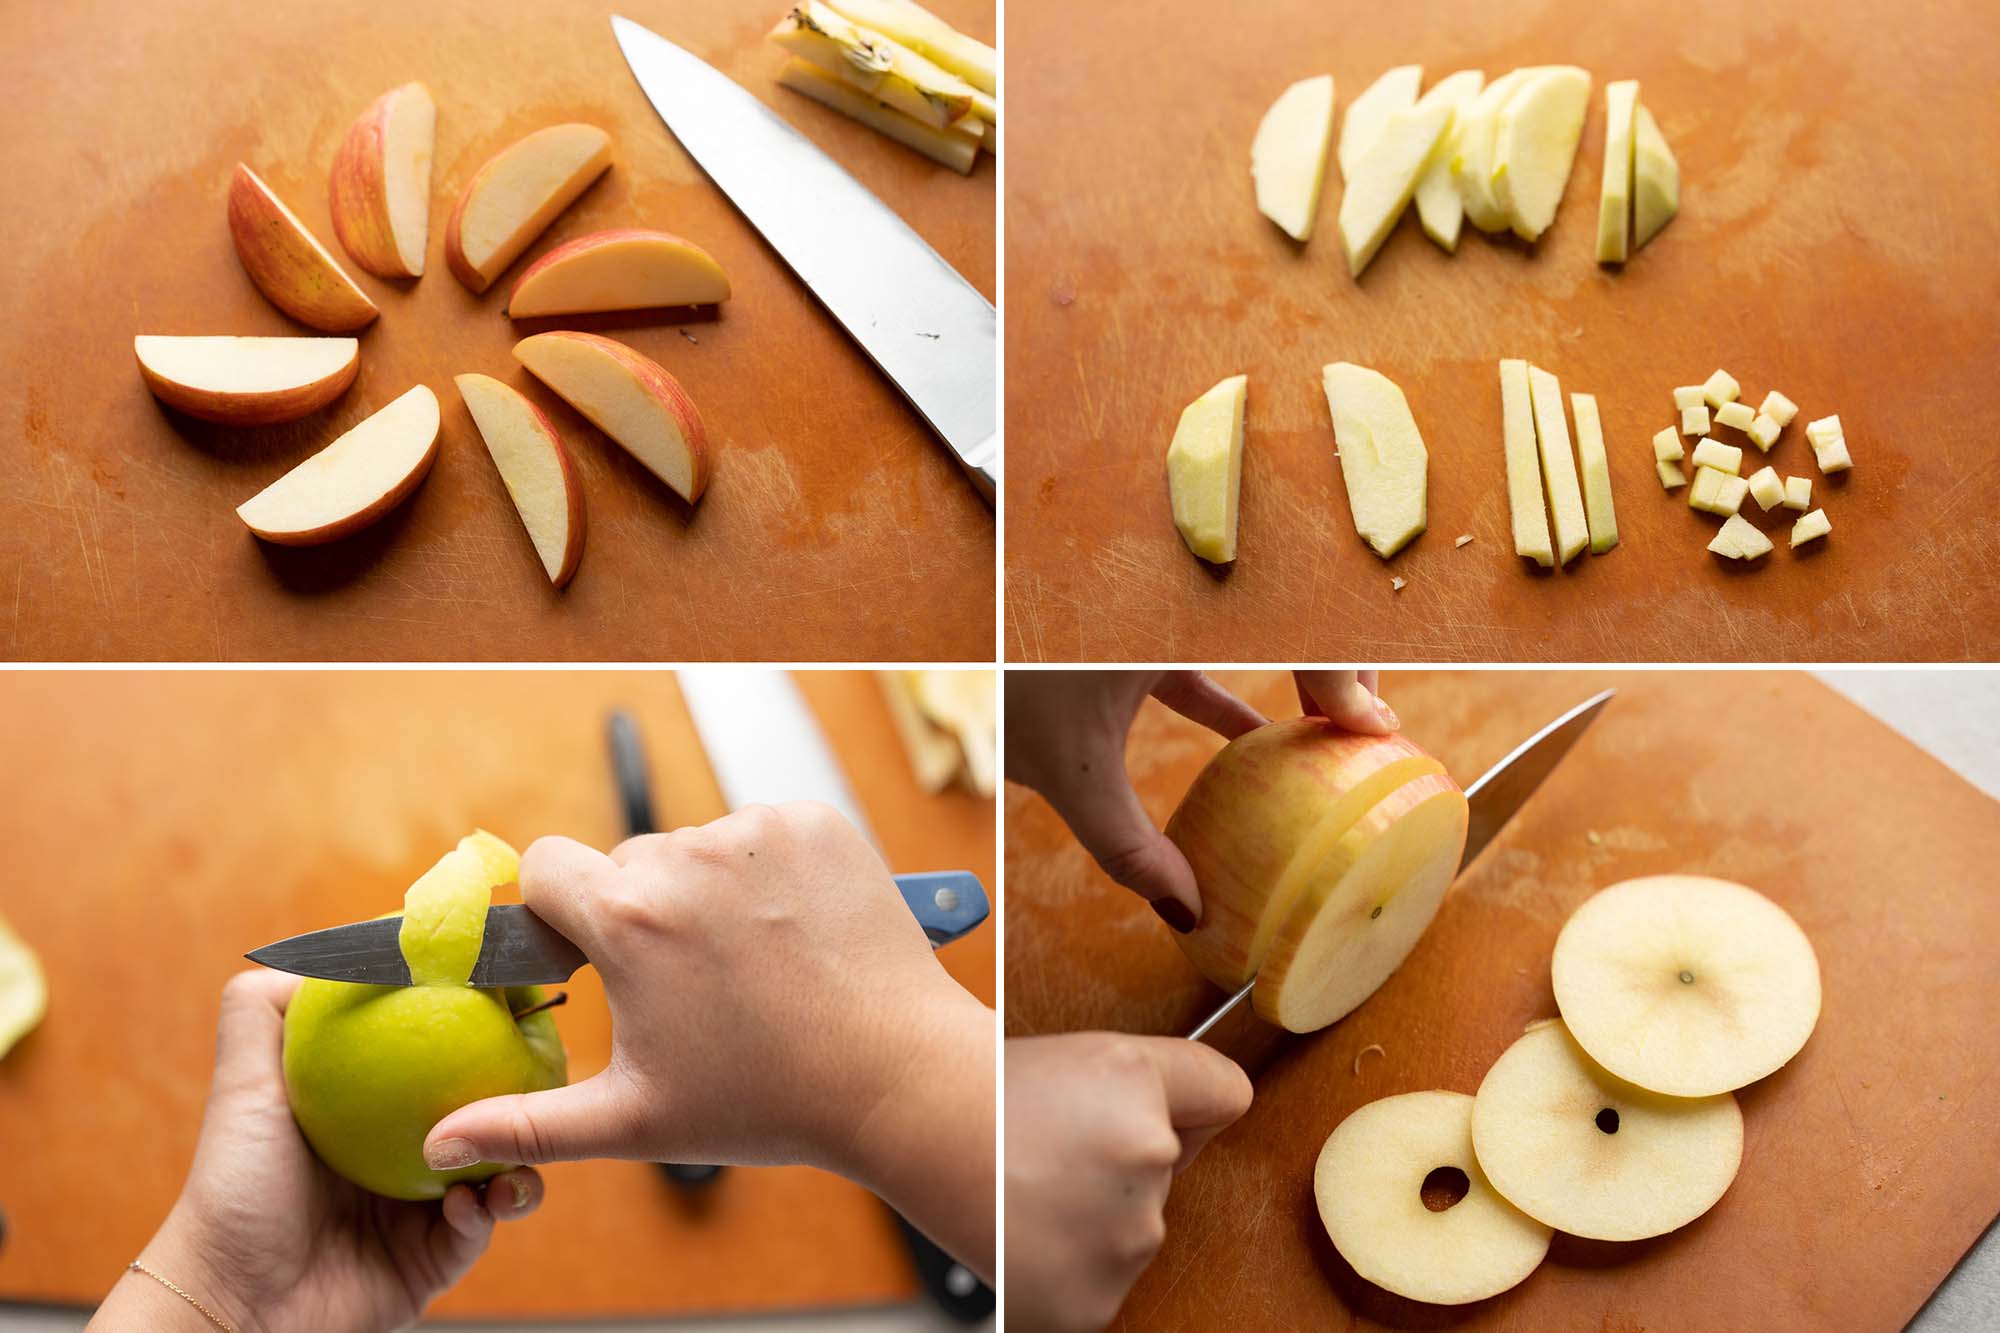
There are quite a few ways to change a t-shirt's neck, giving it a whole new personality. The simplest is the basic scoop neck, which just involves cutting off the existing collar and maybe a bit more to create a wider, round opening. This is a very popular choice for how to cut the neck of a t-shirt because it's easy and comfortable. Another common style is the V-neck. To create a V-neck, you'd mark your center point at the desired depth, and then draw two straight lines from that point up to the shoulder points. When cutting, you'll remove a triangular piece of fabric. This can look quite sleek and adds a different kind of openness to the shirt. It's a slightly more precise cut than a simple scoop, but still very doable.
For a more relaxed, off-the-shoulder look, you can cut a very wide, shallow scoop. This type of cut often goes from shoulder to shoulder, sometimes even a bit past, allowing the fabric to fall gently off one or both shoulders. This style is great for a casual, breezy feel. You might also consider a raw edge, where you simply cut and leave the fabric as is. T-shirt material, especially cotton jersey, often curls up a bit at the edges after washing, which can give a cool, worn-in appearance. This is a very easy way to finish how to cut the neck of a t-shirt without any sewing. Some people even cut small slits or fringes around the neckline for a more distressed or unique look. Each of these options gives a distinct feel, so think about what kind of style you're hoping to achieve. You could even try a boat neck, which is a wide, shallow cut that goes straight across, almost parallel to the shoulders, giving a very classic and elegant shape.
Finishing Touches After You Cut the Neck of a T-Shirt
Once you've made your cuts and are happy with the new shape, you might wonder what to do next. For many t-shirt fabrics, especially cotton jersey, you don't really need to do much at all. As mentioned, the raw edge often curls up after the first wash, creating a natural, soft finish. This is a very popular look and requires no extra work. If you prefer a more finished edge, or if your fabric doesn't curl nicely, you have a few options. You could hand-sew a simple hem, folding the cut edge under a small amount and using a running stitch to hold it in place. This gives a very neat and tidy appearance. It takes a little more time, but the result is a polished edge, you know?
If you have a sewing machine, you could use a zigzag stitch or a serger to finish the edge. This will prevent fraying and give a very durable finish. This is probably the most professional-looking option. For a really simple finish that still offers some stability, you could use fabric glue along the cut edge. Just a thin line of glue will help keep the fabric from unraveling. Always let the glue dry completely before wearing or washing the shirt. The choice of finish really depends on the look you're going for and how much effort you want to put in. Sometimes, just leaving it as a raw edge is the best and easiest way to complete how to cut the neck of a t-shirt. You might even find that after a wash or two, the raw edge softens and looks exactly how you want it, so there's that too.
Keeping Your Cut T-Shirt Looking Good
After you've put in the effort to reshape your t-shirt, you'll want to make sure it stays looking great for a long time. The way you care for it after cutting can make a big difference. If you chose to leave a raw edge, the fabric will likely curl a bit after washing. This is a normal and often desired effect. To encourage an even curl, you can tumble dry the shirt on a low setting, or even gently stretch the cut edge while it's still damp. This helps the fabric find its natural curl. If you've sewn a hem, then simply follow the usual care instructions for the fabric. It's about keeping the fabric in good shape, really.
When washing your newly cut t-shirt, especially one with a raw edge, it's often a good idea to wash it with similar colors and on a gentle cycle. This helps prevent any potential fraying or damage to the newly exposed edges. Cold water is usually a good choice for preserving fabric and color. Try to avoid harsh detergents or bleach, as these can weaken the fabric over time. If you're worried about the raw edge unraveling, you could even put the shirt in a mesh laundry bag before washing. This offers a bit of extra protection. Drying it flat or hanging it to dry can also help maintain the shape of the new neckline, especially if it's a wide scoop or off-the-shoulder style. It's just about being a little more gentle with your customized item, you know? Taking these few extra steps can help your t-shirt keep its new look and feel for many wears to come.
Any Tips for Cutting the Neck of a T-Shirt Like a Pro?
There are a few little tricks that can make your t-shirt cutting experience even better. First, always start with a practice shirt if you're feeling a bit unsure. An old t-shirt you don't care much about is perfect for this. It lets you get a feel for the fabric and how your scissors handle it without worrying about messing up a favorite item. This is a very smart move, actually. Another tip is to use a fabric marker or chalk that disappears. Some markers fade with air, while others wash out with water. This ensures you don't leave any unwanted lines on your finished shirt. It's about making sure your work looks clean.
When cutting, try to make your cuts with the shirt laid flat, rather than trying to cut it while wearing it or holding it up. This gives you a much more stable surface and helps keep your lines straight and even. Also, remember that stretch is your friend. T-shirt fabric, especially jersey knit, has a natural stretch. Don't pull the fabric taut while cutting, as this can lead to a wavy or uneven edge once the fabric relaxes. Let it lie naturally. If you want a more dramatic curl on a raw edge, you can gently pull and stretch the fabric along the cut line after you've made the cut. This helps break the fibers and encourages that nice roll. Finally, don't be afraid to experiment. There are so many ways to personalize a t-shirt, and sometimes the best results come from trying something a little different. It's about having fun with your clothes and making them truly yours, basically. So, just give it a go.
Detail Author:
- Name : Darien Pollich
- Username : ukshlerin
- Email : odell01@gmail.com
- Birthdate : 2002-12-09
- Address : 4563 Johnpaul Oval Suite 048 Shieldsfort, TN 77734-3391
- Phone : +1.820.712.7007
- Company : Cormier-Rolfson
- Job : Postal Service Clerk
- Bio : Sint error deserunt qui. Nam provident et deleniti perspiciatis officia hic. Quo ut mollitia est sunt. Voluptatem dicta nostrum enim vero in nulla.
Socials
twitter:
- url : https://twitter.com/jgerlach
- username : jgerlach
- bio : Voluptatem illo eum quas qui amet. Autem nihil eaque voluptatem quo quisquam. Sed optio harum suscipit nihil et.
- followers : 1624
- following : 1713
instagram:
- url : https://instagram.com/jessika9922
- username : jessika9922
- bio : Beatae blanditiis aut quo illum distinctio. Ipsa voluptates illum in delectus odit.
- followers : 4260
- following : 1823
tiktok:
- url : https://tiktok.com/@jessika_id
- username : jessika_id
- bio : Doloribus nihil dolorem corporis vel libero.
- followers : 4733
- following : 203
