Have you ever thought about bringing a bit of the ocean's gentle giants right into your home, perhaps as a really impressive piece of art or just a fun way to decorate a room? There's something quite special, you know, about creating something substantial with your own hands, especially when it involves materials you might already have lying around. People are really getting into making these fantastic creatures, like big whale sharks, using everyday stuff, and it's pretty much a cool trend you see everywhere from social media feeds to art spaces.
It's actually a wonderful way to spend some time, whether you are looking for a project to do with family, or perhaps you want to make something striking for an exhibition. The idea of taking simple cardboard and paper, then transforming it into a magnificent, spotted ocean dweller, is quite appealing, isn't it? This whole process is more approachable than you might think, and it gives you a chance to be truly creative.
You might have seen bits and pieces of how this works online, maybe on video platforms or picture-sharing sites, with folks showing off their amazing cardboard and paper creations. We're going to explore what makes these projects so popular, and give you some ideas on how you can start making your very own gentle giant of the sea.
Table of Contents
- What Makes a Paper Mache Whale Shark So Appealing?
- Getting Started - What You'll Need for Your Paper Mache Whale Shark
- How Do You Begin Your Paper Mache Whale Shark Creation?
- Shaping the Gentle Giant - Building the Body of Your Paper Mache Whale Shark
- Adding Those Distinctive Features to Your Paper Mache Whale Shark
- Bringing It to Life - The Paper Mache Layer for Your Whale Shark
- Why Is Making a Paper Mache Whale Shark a Good Idea?
- Displaying Your Paper Mache Whale Shark - Where Does It Go?
What Makes a Paper Mache Whale Shark So Appealing?
People are really drawn to the idea of making a paper mache whale shark, and there are a few good reasons why these projects pop up so often on social media and in crafting circles. For one thing, whale sharks themselves are just so fascinating; they are the biggest fish in the ocean, yet they have this calm, gentle way about them. Bringing that kind of presence into a room, even in an art piece, can feel pretty special, you know? It's like having a little piece of the vast ocean right there with you.
Then there's the artistic side of things. Creating something big and sculptural like a paper mache whale shark lets you stretch your creative muscles in a way that smaller crafts might not. You get to think about form, about how light might play on the finished surface, and about how to capture the true spirit of such an amazing creature. It’s a chance to really express yourself, and honestly, the process itself can be quite satisfying, too.
Also, the materials involved are usually pretty accessible. You are often using things that might otherwise just get thrown away, like old cardboard boxes and newspaper. This aspect of giving new life to discarded items, making something wonderful from what some might consider waste, is very appealing to many. It feels good to create something beautiful while also being mindful of resources, and that's a big part of the charm of a paper mache whale shark project.
- Sabrina Carpenter Darwin
- Famous Youtubers Phone Number
- Gay Dad Bears
- Gourmia Air Fryer Recalls
- Get A Job N
Getting Started - What You'll Need for Your Paper Mache Whale Shark
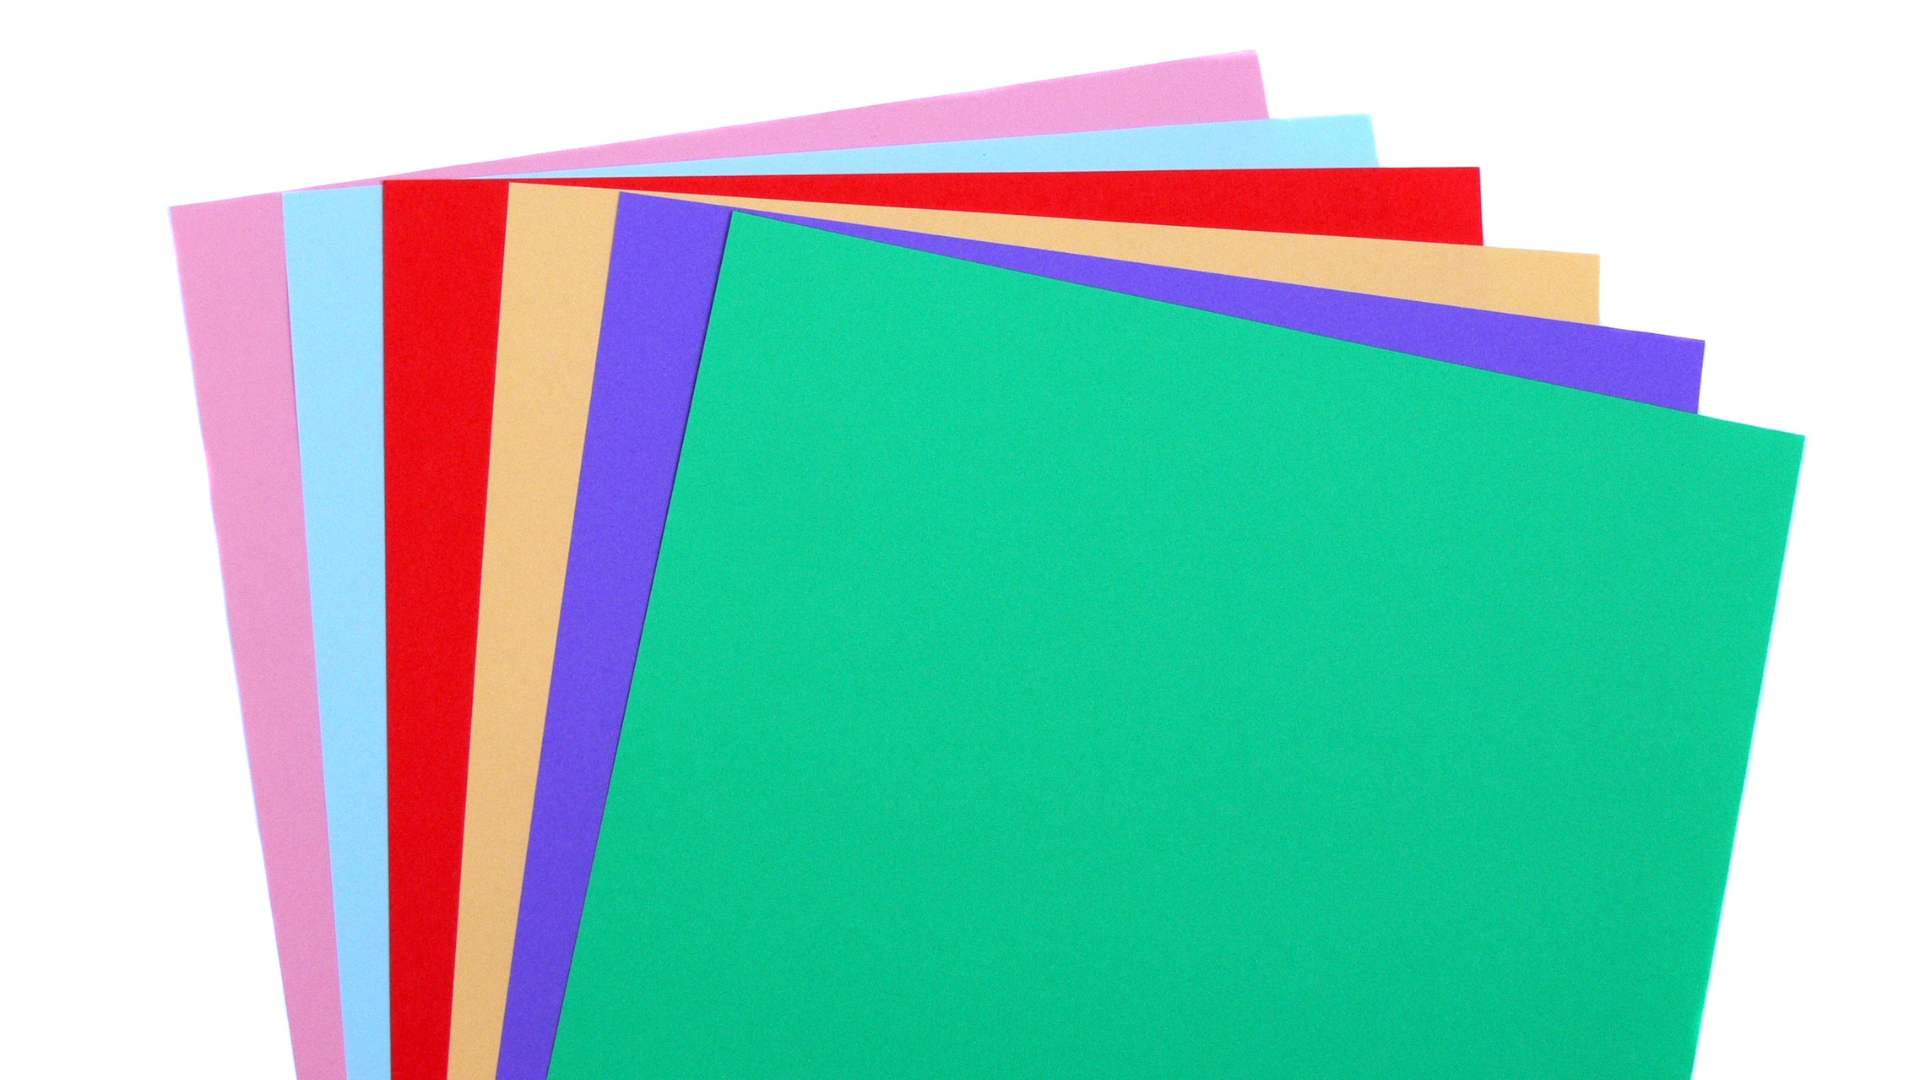
Before you even think about shaping your amazing paper mache whale shark, you will want to gather up all the bits and pieces you are going to need. This typically includes a fair bit of sturdy cardboard, the kind you might find in shipping boxes, as this will form the basic skeleton of your whale shark. You will also want plenty of newspaper or other paper that tears easily, because that is what will build up the form and smooth out the surfaces. A good, strong adhesive is also a must, usually a simple mix of flour and water or a craft glue, which will hold all those paper strips together. You might also want some masking tape to secure initial shapes, and a pair of sharp scissors or a utility tool for cutting the cardboard.
Beyond the main building materials, think about what you will use to add those finishing touches to your paper mache whale shark. Paints, of course, will bring your creation to life, letting you add the distinctive spots and colors that make a whale shark so recognizable. Brushes of different sizes will help with both large areas and fine details. Some people even like to add a clear sealant or varnish at the very end to protect their work and give it a nice sheen. Having everything laid out and ready before you start can make the whole creative process much smoother and more enjoyable, which is pretty important for a project of this size.
How Do You Begin Your Paper Mache Whale Shark Creation?
So, you have got your materials all lined up, and you are ready to make a start on your very own paper mache whale shark. Where do you even begin with something like this? The first step, and it is a really important one, involves sketching out the basic shape of your whale shark. Think about its overall form, that long, tapering body, and the wide, flat head. You might want to look at some pictures of real whale sharks to get a good sense of their proportions and how they are shaped. This initial drawing, perhaps on a large piece of cardboard or even directly onto the floor, will serve as your guide.
Once you have a rough outline, you will want to cut out the main body pieces from your sturdy cardboard. Some people prefer to make two identical side profiles of the whale shark, and then connect them with strips of cardboard to create a three-dimensional form. Others might start with a central spine and build out from there. The goal here is to create a strong, basic structure that can support the layers of paper mache that will come later. It is kind of like building the frame of a house before you put up the walls, so getting this part right makes a big difference to your finished paper mache whale shark.
Shaping the Gentle Giant - Building the Body of Your Paper Mache Whale Shark
After you have your main cardboard outline, the next stage is all about giving your paper mache whale shark its full, rounded shape. This is where you will start to add volume and curves to what might currently be a very flat or angular structure. You can use more cardboard strips, bending them and taping them into place to create the contours of the whale shark's body. Think about how the body gets wider in the middle and then narrows down towards the tail. You might also use crumpled newspaper or other lightweight materials to fill out certain areas, like the belly or the head, securing them with tape.
This part of the process is very much about building up the form bit by bit, checking your progress as you go. You want to make sure the shape feels right and that it has that characteristic whale shark look. Some folks even use chicken wire or similar mesh materials as an underlying support structure, especially for larger projects, as it can give a good base for the paper mache to adhere to. The idea is to create a solid, three-dimensional representation of your whale shark that is ready for its paper skin, so it will really hold its shape when you begin to apply the paper mache layers.
Adding Those Distinctive Features to Your Paper Mache Whale Shark
Once the main body of your paper mache whale shark has taken shape, it is time to add those features that make it instantly recognizable. Whale sharks have a distinctive set of fins: a large dorsal fin on their back, two pectoral fins on their sides, and a powerful tail fin. You will want to cut these out from cardboard, making them proportionate to the size of your whale shark's body. For the side fins, sometimes it is handy to cut them as one piece that can slip through a slot in the body, making them quite sturdy.
Don't forget the details that give your paper mache whale shark its personality, like the mouth and the small eyes. Whale sharks have a very wide, flat mouth, which is a key part of their appearance. You can create this by adding a curved piece of cardboard to the front of the head, or by shaping the existing cardboard structure. The eyes are usually quite small in comparison to their large bodies, so adding little bumps or small, rounded shapes for these will help bring your creation to life. These additions really help to make your cardboard whale shark look like the real deal before you even start with the paper layers.
Bringing It to Life - The Paper Mache Layer for Your Whale Shark
Now that your cardboard structure for the paper mache whale shark is complete, it is time for the classic paper mache step. This involves tearing your newspaper or other paper into strips, usually about an inch or two wide, and then dipping them into your chosen adhesive mixture. You want to make sure each strip is fully coated but not dripping wet. Then, you carefully lay these strips onto your cardboard form, overlapping them slightly as you go. The goal is to cover the entire surface of your whale shark with at least a few layers of paper mache, smoothing out any bubbles or wrinkles as you work.
Applying the paper mache layers is a bit of a patient process, as you will likely need to let each layer dry somewhat before adding the next. This helps to build up strength and prevents the paper from becoming too soggy or collapsing. Many people apply three to four layers for a sturdy finish, making sure to cover every part of the whale shark, including the fins and any other added features. This process helps to create a smooth, hard shell over your cardboard frame, which is perfect for painting later on. It is really satisfying to see your paper mache whale shark start to get its final skin.
Why Is Making a Paper Mache Whale Shark a Good Idea?
Making a paper mache whale shark is more than just a craft project; it offers a whole host of benefits, for sure. For starters, it is a fantastic creative outlet. You get to use your hands, think about design, and bring an idea from your mind into the physical world. This kind of hands-on creation can be incredibly satisfying and a great way to relieve a bit of stress. It is also a project that can be adapted for different skill levels, so whether you are new to crafting or have lots of experience, you can make it work for you, which is nice.
Another great reason to take on a paper mache whale shark project is its use of recycled materials. Using cardboard boxes, old newspapers, and even leftover paint means you are giving new purpose to items that might otherwise end up in the trash. This makes it a very eco-conscious way to create art or decorations for your home. It teaches a good lesson about resourcefulness and how you can make amazing things without having to buy a lot of new, expensive supplies. It is pretty much a win-win situation for both your creativity and the planet.
Beyond the personal satisfaction and the environmental aspects, creating a paper mache whale shark can also be a wonderful group activity. It is something families can work on together, with different members taking on different parts of the process, from cutting cardboard to applying paper strips. This kind of collaborative project can build connections and create lasting memories. And, once it is done, you have a truly unique piece of art that reflects the effort and joy put into its creation, whether it is for a local art exhibition or just to brighten up a room.
Displaying Your Paper Mache Whale Shark - Where Does It Go?
Once your paper mache whale shark is completely finished, painted, and sealed, you will naturally want to show it off! There are quite a few places this impressive creation could go. For a start, many people make these to hang on a wall, turning a plain space into something quite captivating. Imagine a large whale shark appearing to swim across a bedroom wall or in a living area, bringing a sense of calm and wonder to the room. You can attach a strong wire or hook to the back of the finished piece to make it ready for hanging, which is pretty straightforward.
If you have made a smaller paper mache whale shark, it could sit nicely on a shelf or a desk, serving as a unique decorative item. These smaller versions can add a touch of ocean-inspired charm to any corner. For those who create really big pieces, perhaps for a school project or an art display, the floor or a large pedestal might be the perfect spot. The key is to find a place where your paper mache whale shark can be admired and where it truly feels at home, adding its gentle presence to your chosen space.
Ultimately, the choice of where to display your paper mache whale shark depends on its size, your living space, and what kind of impact you want it to have. Whether it becomes a centerpiece in a room, a unique wall hanging, or a smaller accent piece, your handmade whale shark is sure to be a conversation starter. It stands as a testament to your creativity and patience, offering a wonderful way to bring a piece of the ocean's majesty into your everyday surroundings, so it really is a project that keeps on giving.

Detail Author:
- Name : Keenan Funk
- Username : dickens.kaleb
- Email : ladarius.mosciski@gmail.com
- Birthdate : 1993-07-30
- Address : 7467 McGlynn Stravenue Suite 935 North Karliport, CA 01660-4360
- Phone : 253-608-6841
- Company : Schiller-Shields
- Job : Fashion Designer
- Bio : Non provident dicta quia pariatur est. Vitae molestiae rem id recusandae rem cupiditate qui vel. Facere error exercitationem quasi ipsa. Culpa reprehenderit itaque saepe dicta impedit tenetur.
Socials
facebook:
- url : https://facebook.com/howei
- username : howei
- bio : Magni sed esse quisquam dolor qui et odit. Quos quod maxime ea sed quia.
- followers : 3417
- following : 1531
linkedin:
- url : https://linkedin.com/in/ivy.howe
- username : ivy.howe
- bio : Ad delectus quidem doloremque.
- followers : 3884
- following : 471
