Have you ever wanted to bring a little piece of the ocean's gentle beauty into your home? Creating a paper mache sea turtle is a wonderful way to do just that, offering a chance to get hands-on with art and make something truly special. This crafting adventure lets you transform simple materials into a charming creature of the deep, a process that is, in a way, quite soothing and rewarding. It's a fun project for makers of many ages, and the finished piece can add a lovely touch to any room or be a heartfelt gift for someone you care about.
Making one of these lovely ocean dwellers doesn't ask for a lot of fancy supplies or really complex skills, which is pretty nice. You probably have many of the things you need already hanging around your house, like old newspapers and some kind of sticky paste. The real magic happens as you layer and shape, watching your vision slowly take on a solid form. It’s a creative outlet that feels good, a chance to slow down and build something with your own two hands, you know?
This guide will walk you through each step, from gathering your bits and pieces to putting the final decorative touches on your new shelled companion. We will talk about what items you will need, how to shape the body, and ways to bring your turtle to life with color and texture. So, if you are curious about giving this delightful craft a try, stick with us. It's actually a pretty straightforward process once you get going, and the outcome is often quite charming.
- Claudia Doumit Deep Fake
- Who Plays Tally The Elf At Disney
- Color Illegal To Use On Cars
- Jacob Savage Just For Gays
- Carl Bismarck Meme
Table of Contents
- What Do You Need for a Paper Mache Sea Turtle?
- Building the Shape for Your Paper Mache Sea Turtle
- How Many Layers Make a Strong Paper Mache Sea Turtle?
- Adding Details to Your Paper Mache Sea Turtle
- Where Should Your Paper Mache Sea Turtle Dry?
- Making Your Paper Mache Sea Turtle Shine
- Can Anyone Make a Paper Mache Sea Turtle?
What Do You Need for a Paper Mache Sea Turtle?
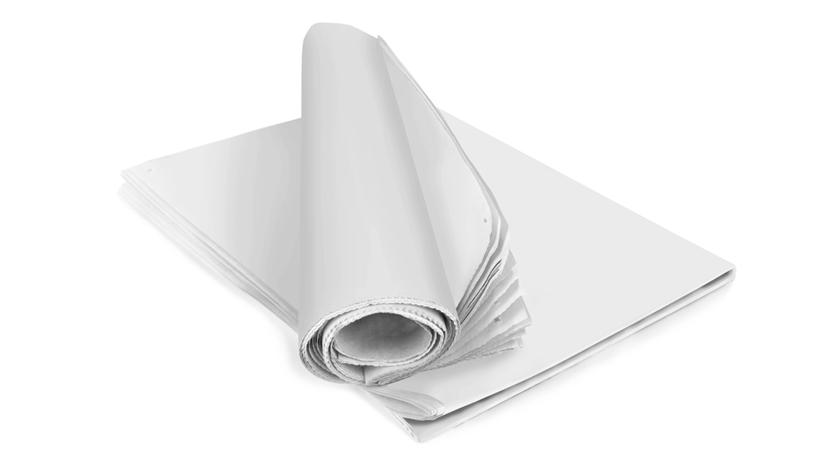
Starting any creative project often begins with gathering your supplies, and making a paper mache sea turtle is no different. You don't need a huge list of items, which is rather convenient. For the basic structure, you'll want plenty of old newspapers or even some scrap paper from your recycling bin. These pieces will form the body of your turtle, so a good amount is helpful. You'll also need some kind of adhesive, like a simple flour and water paste, or maybe a craft glue that can be thinned out. That, you know, will hold everything together.
Beyond the main building stuff, you'll want some masking tape to help hold the initial shape together. This sticky tape is pretty good at keeping things in place while the paste dries. For the actual paper mache application, you'll need a bowl for your paste and a way to protect your work surface, perhaps some old plastic sheeting or a stack of newspapers. A pair of scissors can also be handy for cutting paper strips, though tearing them often works just as well and gives a softer edge, which is sometimes preferred. It's almost like preparing for a little art party, really.
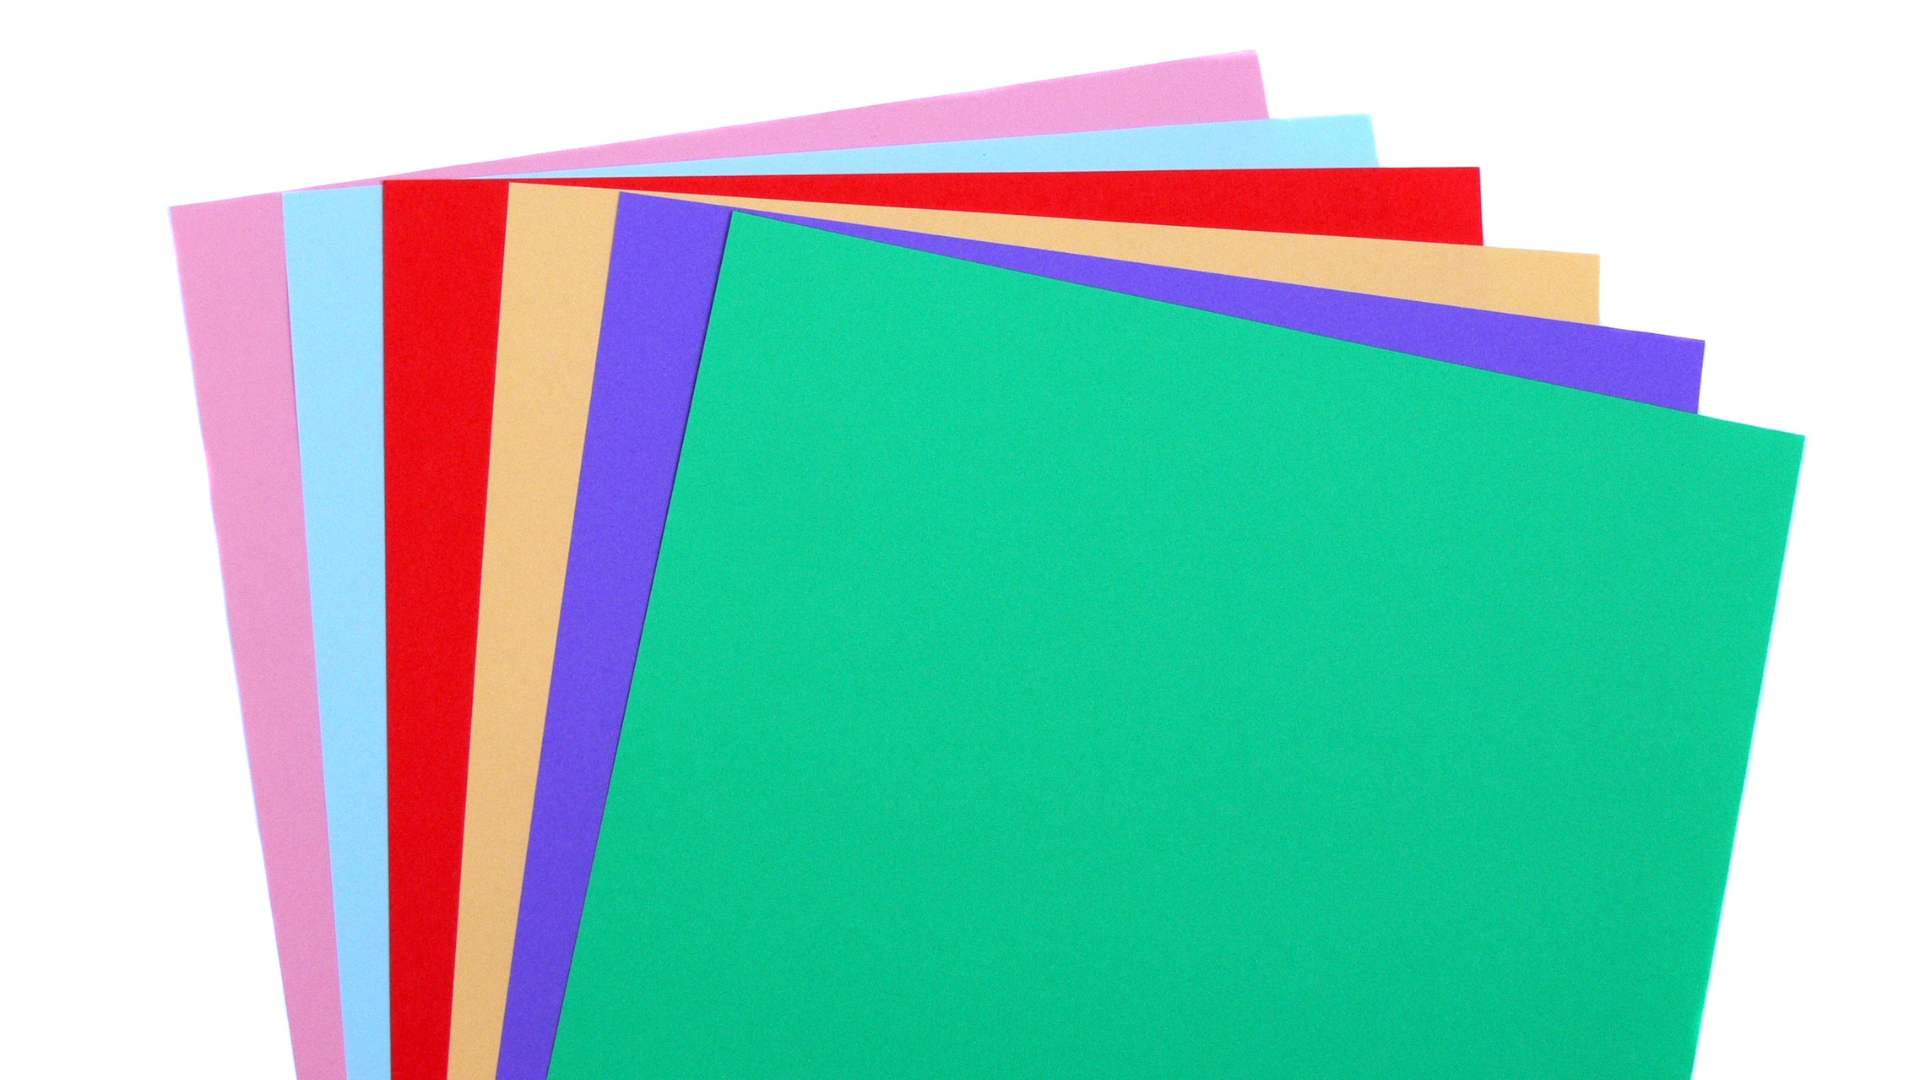
When it comes to decorating your finished paper mache sea turtle, the sky's the limit, sort of. You'll want paints, perhaps acrylics, in colors that remind you of the ocean – greens, blues, sandy browns, and maybe some pearly whites. Brushes of different sizes will help with both covering large areas and adding smaller details. You might also consider clear sealant or varnish to give your turtle a nice finish and help it last longer. Glitter, beads, or even small shells could be fun additions if you're feeling a bit extra creative. It's pretty cool how much you can do with just a few basic items, actually.
- Invincible Thragg Voice Actor
- Emilio Y Wendy
- True Love Waits Movie Netflix
- Hong Kong Tijuana Meme
- Itsame Yomama Nude
Building the Shape for Your Paper Mache Sea Turtle
The first step in making your paper mache sea turtle come to life is creating its basic form. Think of this as sculpting with paper. You'll want to start with the main body, which is usually a rounded, somewhat flattened shape. Crumple up sheets of newspaper tightly to form a ball, then flatten it a little to make the turtle's shell. You can use masking tape to hold this shape together, giving it a bit more stability. It’s important that this base is firm, since it will support all the layers you add later, you see.
Next, you'll need to create the head, legs, and tail. For the head, roll a piece of newspaper into a long, tapered cylinder, then bend one end to form the head and neck. The legs can be made by rolling smaller pieces of newspaper into flipper-like shapes, sort of flattened ovals. The tail is usually just a small, pointed piece. Use masking tape to attach these parts securely to the main shell. Don't worry too much about perfection at this stage; these are just the rough outlines, so to speak.
Once all the parts are taped together, take a moment to look at your paper mache sea turtle shape. Does it look like a turtle? Can you adjust any parts to make it more turtle-like? You can add more crumpled paper and tape to build up areas or smooth out bumps. This initial structure is what your finished piece will ultimately look like, so taking a little time here can really make a difference. It's kind of like sketching out your idea before you start painting, you know?
How Many Layers Make a Strong Paper Mache Sea Turtle?
Once you have your basic paper shape, it's time to start applying the paper mache paste and strips. This is where your paper mache sea turtle really starts to gain strength and durability. Generally, for something like a turtle, you'll want at least three to four layers of paper mache. This gives it enough firmness to hold its shape well and resist minor bumps. Too few layers, and your turtle might feel a bit flimsy, which is something you probably want to avoid.
To apply the layers, tear or cut your newspaper into strips. Aim for pieces that are about an inch or two wide and maybe six to eight inches long, though smaller pieces can be useful for trickier spots. Dip each strip into your paste, making sure it's fully coated but not dripping. You can gently run the strip between your fingers to remove excess paste. Then, lay the strip onto your paper turtle form, smoothing out any air bubbles or wrinkles as you go. You want a pretty even surface, basically.
After you've covered the entire paper mache sea turtle form with one layer, let it dry completely before adding the next. This is a very important step; if you add layers too quickly, the inner layers won't dry properly, and your project could get moldy or stay soft. Drying can take several hours, or even overnight, depending on the humidity and how thick your paste is. Patience is key here, honestly. You'll repeat this process until you have your desired number of layers, making sure each layer is dry before adding the next one. It's a bit like building up strength, layer by layer.
Adding Details to Your Paper Mache Sea Turtle
After your paper mache sea turtle has enough layers and is completely dry, it's time to refine its appearance. This is where you can really start to make it look like a proper sea creature. You might want to add a final layer of plain white paper or paper towels. This step helps create a smooth surface that will take paint much better, as the newspaper print won't show through. It's a little extra work, but it really pays off in the end, you know?
Once that last layer is dry, you can begin to add any specific features or textures. For instance, you could use a thicker paste or even some modeling clay to create raised scales on the shell or define the eyes and mouth. These additions help give your paper mache sea turtle more character and depth. Just be sure that anything you add is secure and will dry well. It’s about bringing out those little touches that make it unique, in a way.
Some people like to sand their dried paper mache to get an even smoother finish before painting. If you do this, use a fine-grit sandpaper and gently rub over the surface. This can remove any small bumps or rough spots. After sanding, wipe away any dust before moving on to the fun part: painting. This stage is where your paper mache sea turtle truly starts to get its personality, so take your time and enjoy the creative process. It's pretty satisfying, actually, to see it all come together.
Where Should Your Paper Mache Sea Turtle Dry?
Proper drying is, you know, absolutely essential for a successful paper mache sea turtle. You can't rush this part, or you might end up with a project that feels damp or even grows mold. The best place to dry your turtle is in a spot that has good air circulation. A warm, dry room is ideal, perhaps near an open window or even with a fan blowing gently nearby. This helps the moisture escape from all those layers of paper and paste. A spot that is too humid or cold will slow down the drying process considerably, which is something to think about.
You might also want to place your paper mache sea turtle on a raised surface, like a wire rack or an old cooling rack from the kitchen. This allows air to get to the bottom of the turtle as well as the top, helping it dry more evenly. If it's sitting flat on a table, the bottom might stay wet for a very long time, which isn't what you want. Turning it over every few hours, if possible, can also help ensure all sides get a chance to air out properly. It's a bit like baking, where you want even heat distribution, only with air, you see.
Be patient during this drying phase. Depending on the size of your paper mache sea turtle and the number of layers you've applied, it could take anywhere from a day to several days for it to be completely dry and hard. You'll know it's ready when it feels firm all over and has no cool, damp spots. Don't be tempted to put it in a hot oven or use a hairdryer on high heat, as this can cause the paper to crack or warp. Natural drying is always the best approach for a good outcome, honestly. It's usually worth the wait, too.
Making Your Paper Mache Sea Turtle Shine
Once your paper mache sea turtle is completely dry and firm, the really fun part begins: decorating it! This is where you can let your imagination go wild and bring your turtle to life with colors and patterns. Acrylic paints are a good choice because they dry quickly and offer a wide range of shades. You can paint the shell in shades of green and brown, maybe with some lighter spots or swirls to mimic a natural turtle shell. The head and flippers can be a slightly different color, perhaps a muted green or gray. It's pretty cool how much character paint can add, you know?
Think about adding details like eyes. You can paint them on, or if you're feeling a little more adventurous, you could glue on small beads or googly eyes for a playful look. Consider adding texture to the shell by dabbing paint with a sponge or using a dry brush technique. You could even glue on small pieces of string or yarn to create raised patterns before painting. These little touches can make your paper mache sea turtle feel much more alive and unique, actually.
After all your paint has dried, which typically doesn't take too long with acrylics, you might want to add a protective finish. A clear sealant or varnish will help protect your artwork from dust and moisture, and it can also give your turtle a lovely sheen. You can find these at most craft stores, either in a spray form or as a brush-on liquid. Apply it in thin, even coats, letting each coat dry before adding the next. This final step helps your paper mache sea turtle last for a very long time and keeps its colors looking bright. It's kind of like giving it a protective shield, you see.
Can Anyone Make a Paper Mache Sea Turtle?
The beauty of making a paper mache sea turtle is that it's a craft accessible to almost anyone, regardless of their artistic background. You don't need to be an expert sculptor or a master painter to create something charming and personal. The materials are inexpensive and easy to find, and the process itself is quite forgiving. If you make a mistake, you can often just add another layer of paper and paste to cover it up, which is pretty handy. It's more about enjoying the process than achieving absolute perfection, honestly.
This project is particularly good for families or groups. Kids often love the tactile experience of working with paper and paste, and they can be very creative with the decorating phase. Adults might find it a relaxing way to unwind and express themselves. It's a chance to step away from screens and create something tangible with your hands. So, if you're looking for a fun activity that doesn't require a lot of special equipment or prior skill, making a paper mache sea turtle could be just the thing. It's actually a pretty rewarding experience, in a way.
There are also many ways to adapt the project to different skill levels or interests. You could make a very simple, stylized paper mache sea turtle, or you could try to create a more detailed and realistic one. You can experiment with different types of paper for texture, or use various embellishments like fabric scraps or natural elements. The possibilities are pretty wide open, so to speak. So, yes, if you have a little time and a desire to create, you can definitely make a wonderful paper mache sea turtle. It’s a very satisfying feeling to hold your finished creation, you know?

Detail Author:
- Name : Herminio Greenfelder Jr.
- Username : corwin.josephine
- Email : vhermiston@walker.com
- Birthdate : 2003-04-09
- Address : 835 Hartmann Estate North Alanland, LA 44416
- Phone : (949) 699-0940
- Company : Stracke LLC
- Job : Dragline Operator
- Bio : Explicabo esse officia vitae culpa tempore et aperiam ab. Nemo adipisci in excepturi labore ut quia et. Qui eos dolore ut magnam.
Socials
facebook:
- url : https://facebook.com/lynch1995
- username : lynch1995
- bio : Fugit minima animi velit tenetur explicabo occaecati veniam qui.
- followers : 6089
- following : 1781
twitter:
- url : https://twitter.com/lynchj
- username : lynchj
- bio : Harum velit minima ut dolorem illo et. Ratione illo hic pariatur laborum. Quas porro officiis consectetur modi.
- followers : 1986
- following : 2748
tiktok:
- url : https://tiktok.com/@junior_real
- username : junior_real
- bio : Quis saepe consequatur vel. Ipsum fugiat nam eligendi adipisci.
- followers : 5376
- following : 147
